The color and texture of porcelain pavers may catch your attention first, but the quality of the finished installation often becomes clear around a drain, a skimmer lid, or the edge of a step. These are the places where careful planning and precise cuts make a visible difference.
For homeowners investing in a pool deck, patio, or outdoor living space, understanding these details helps explain why installation quality matters just as much as material selection. It also helps you know what to discuss with your installer before work begins.
Planning Cuts Before Installation Begins
Successful porcelain paver cutting starts long before the first piece is installed. An experienced installer considers the entire layout, including the position of drains, skimmers, steps, walls, and curved boundaries. Planning these details in advance helps prevent awkward cuts, narrow slivers of material, and inconsistent spacing.
The paver pattern should be designed around fixed features whenever possible. Aligning paver joints with a pool edge or positioning a full paver near a prominent step can create a more intentional, balanced appearance. Where adjustments are necessary, distributing cuts across a wider area often produces a better visual result than concentrating small pieces in one location.
Accurate measurements should account for joint widths, perimeter clearances, drainage requirements, and the dimensions of each finished opening. Joint spacing and joint treatment should suit the installation method and the manufacturer’s requirements. A layout may still need adjustments on site, but careful preparation reduces unnecessary cutting and material waste.
For bonded porcelain installations, movement joint planning should also follow TCNA guidance on movement joints and the project’s installation requirements.

Cutting Around Drains: Precision Meets Function
Drainage details are easy to overlook, yet they play an important role in both appearance and performance. Porcelain pavers surrounding a linear drain, channel drain, or point drain should be cut accurately to create consistent gaps and a neat transition.
Oversized openings can leave uneven borders around drain grates, while cuts that are too tight may interfere with removal, maintenance, or movement within the paving system. The goal is a uniform, deliberate finish that preserves the drain’s function.
Drain placement and paver layout should be coordinated early. Where practical, a linear drain can align with paver joints, reducing visible cuts. The installer must also preserve the required drainage slope so water moves toward the intended collection point rather than pooling on the surface.
Exposed porcelain edges should be cut cleanly and finished appropriately for the application. The grate should sit correctly within its frame, with surrounding pavers meeting the drain at the proper elevations and clearances.
Skimmer Openings: Clean Lines Around the Pool
Once a pool skimmer is positioned, the surrounding paver pattern may not naturally align with its opening. Poorly planned cuts can create thin strips of porcelain, uneven borders, or distracting joints around the skimmer lid.
A skilled installer evaluates the skimmer’s location before cutting begins. Adjusting the layout’s starting point or shifting joint positions within the overall plan can help create larger, more balanced pieces around the opening.
Cut size is particularly important. Narrow sections of porcelain can be more vulnerable to breakage during handling and installation, especially around corners or openings. Where possible, the layout should avoid fragile slivers and provide adequate support beneath the finished pieces.
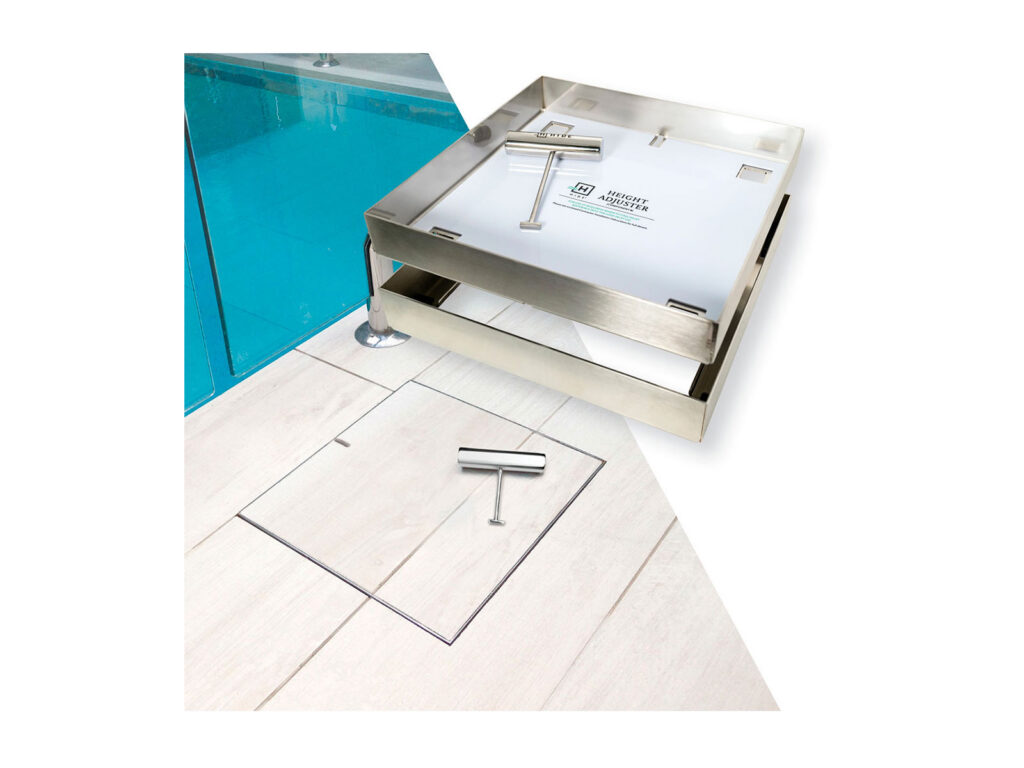
For a more integrated finish, HIDE inlay covers, available through Aquabella®, allow matching porcelain to be fitted into the lid so the skimmer access point blends into the surrounding paving. Aligning the inlay with adjacent paver patterns and joint lines helps create a more consistent appearance.
The cover’s dimensions, inlay depth, required clearances, and access method should be coordinated before cutting. Installers should follow the current HIDE installation instructions to ensure the lid remains accessible for routine maintenance and that the surrounding porcelain is properly protected.
A beautiful porcelain pool deck comes down to the details, especially the cuts around drains, skimmers, curves, and steps.
Curves: Making Complex Shapes Look Natural
Curved pool edges, rounded patios, and sweeping landscape borders require a different approach from straight installations. Porcelain is a rigid material, so the intended curve must be created through carefully measured individual cuts.
The installer typically establishes the curve using a template, layout marks, or measured reference points. Each paver is then cut to follow the overall line while maintaining consistent joint spacing. Tight curves may require smaller pieces, while broader curves may accommodate larger ones.
The key is consistency. Abrupt changes in cut angles, uneven spacing, and irregular edge profiles can make a curved installation appear disjointed. A well-executed curve follows a continuous visual line, with each cut contributing to the overall shape.
Where porcelain remains exposed, the perimeter may require a finished porcelain edge, suitable coping, or another compatible border treatment. The chosen detail should complement the design and protect exposed edges from damage.
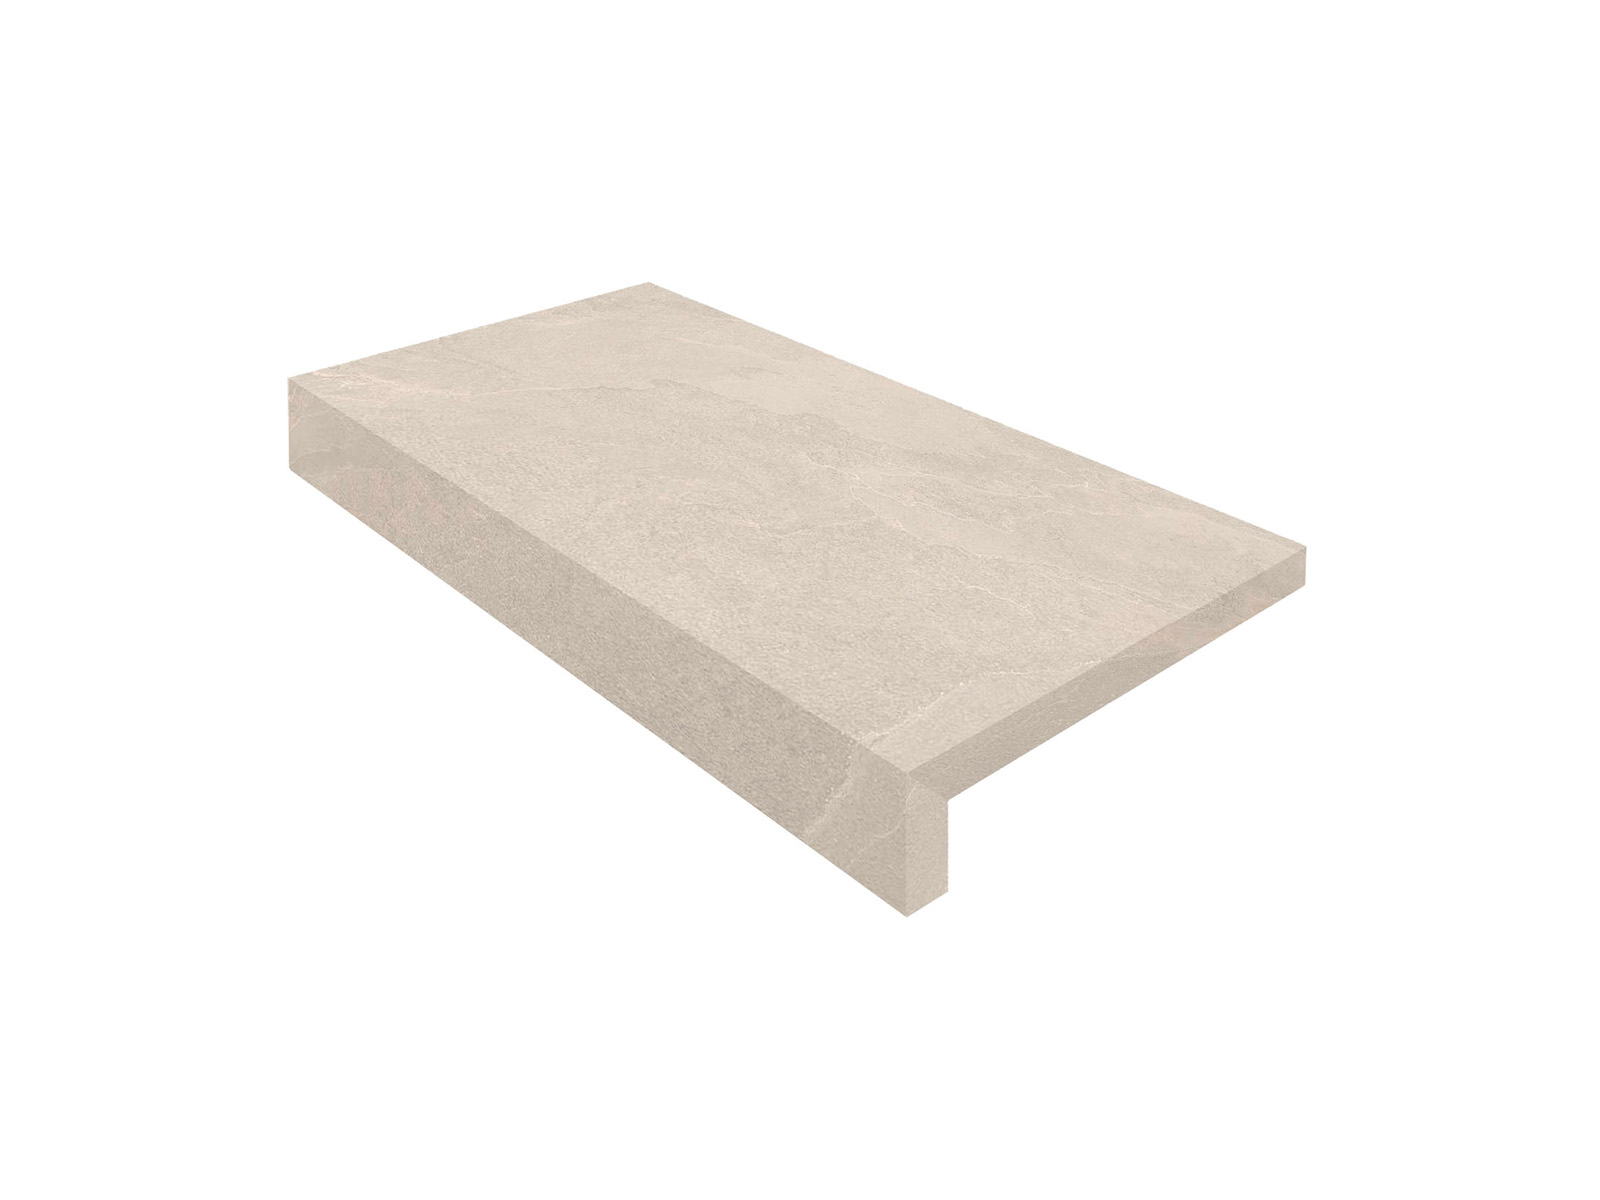
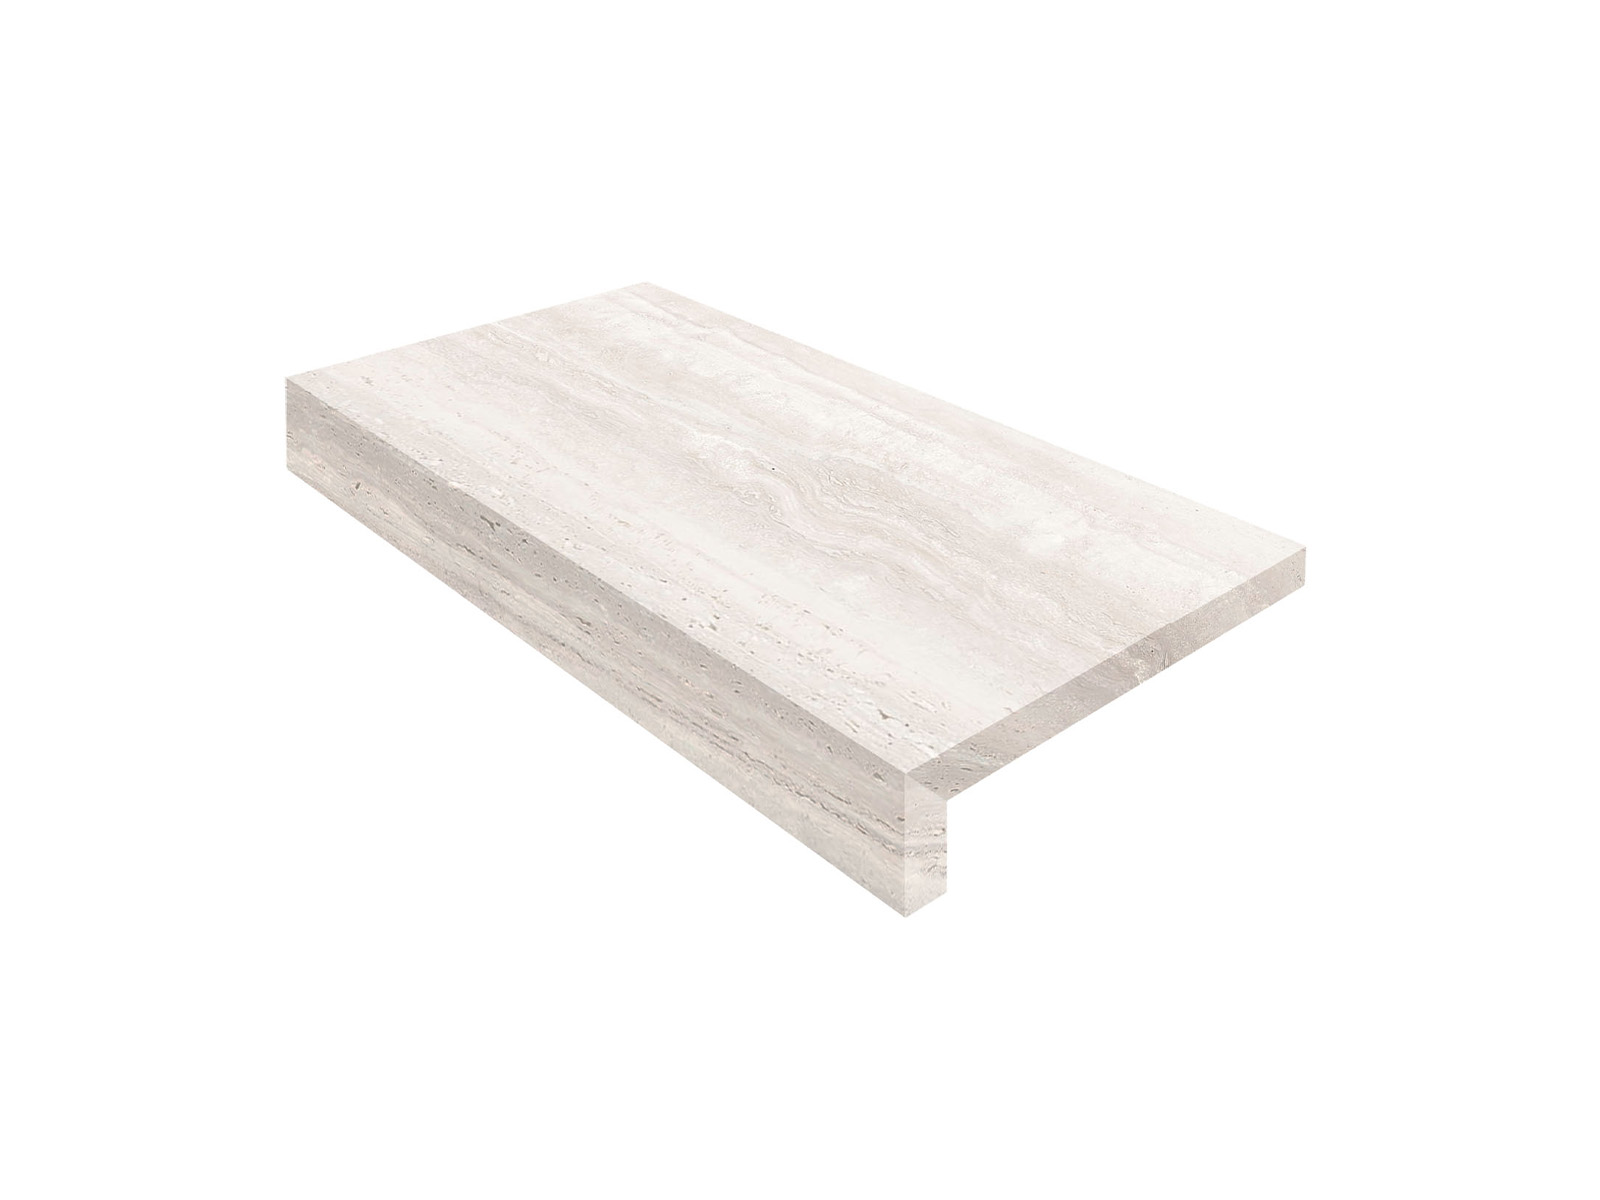
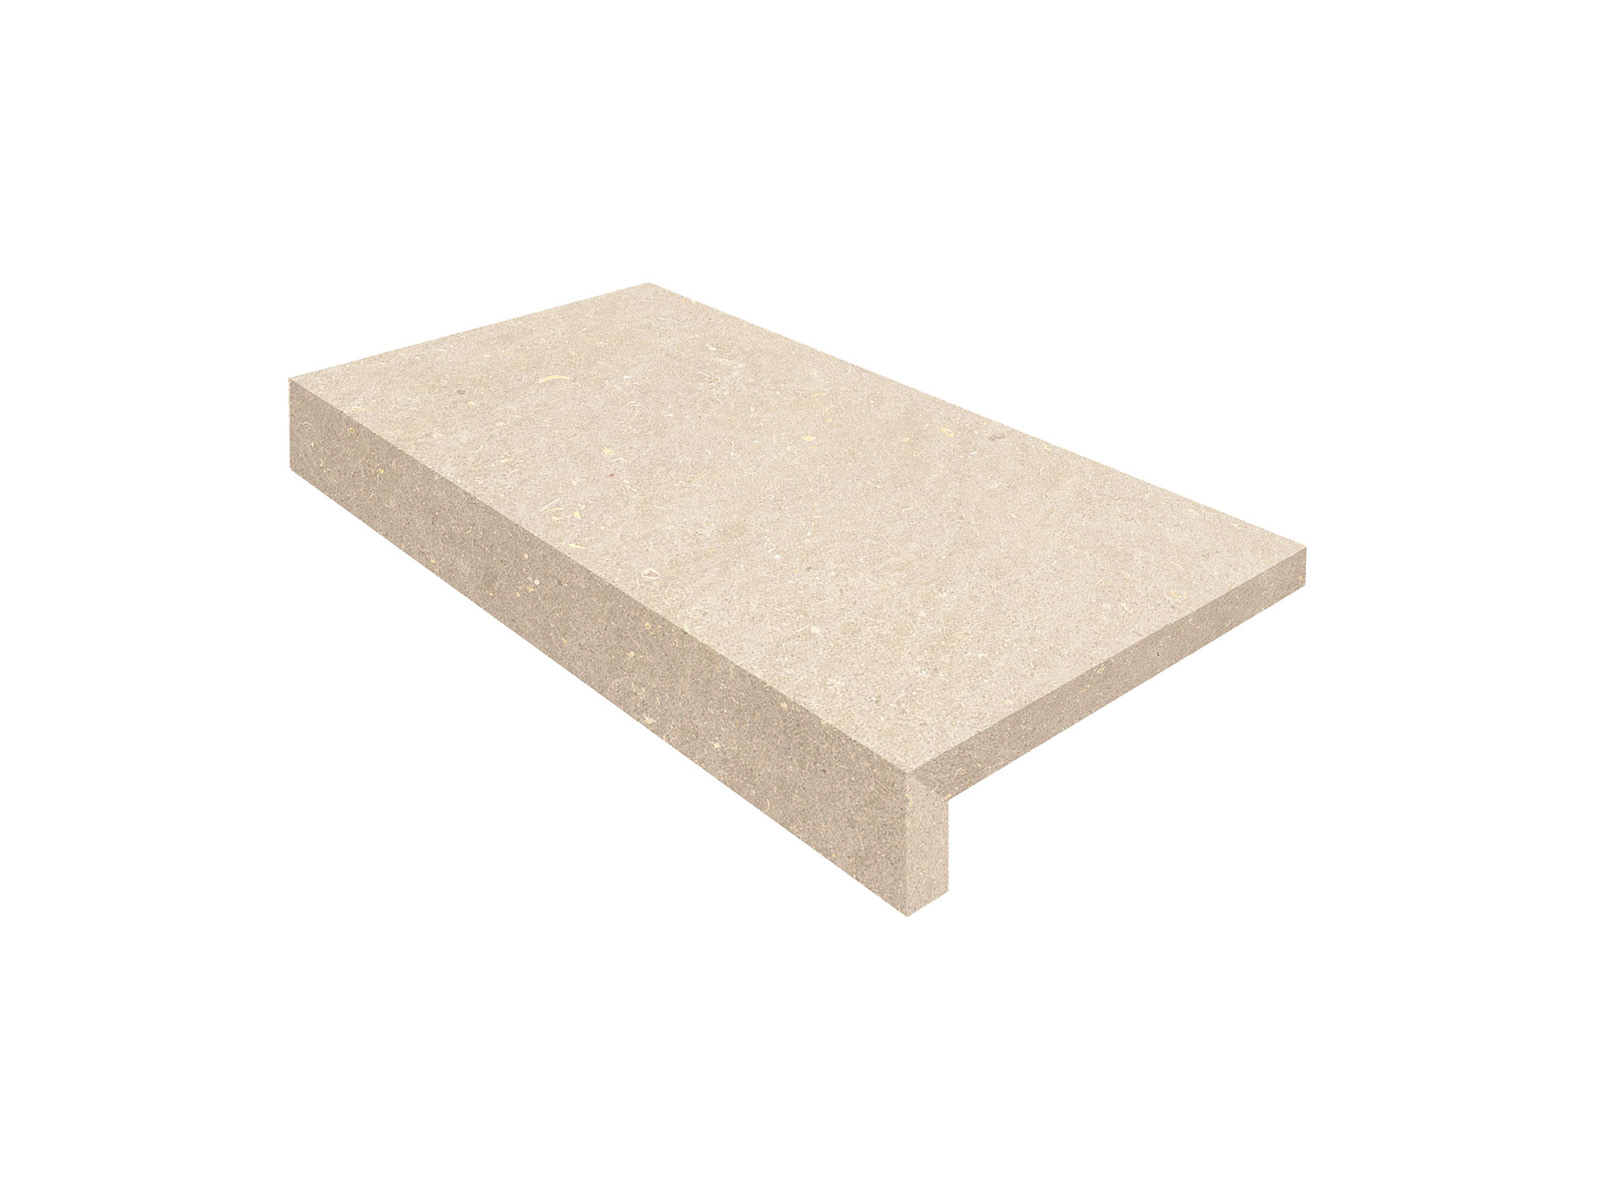
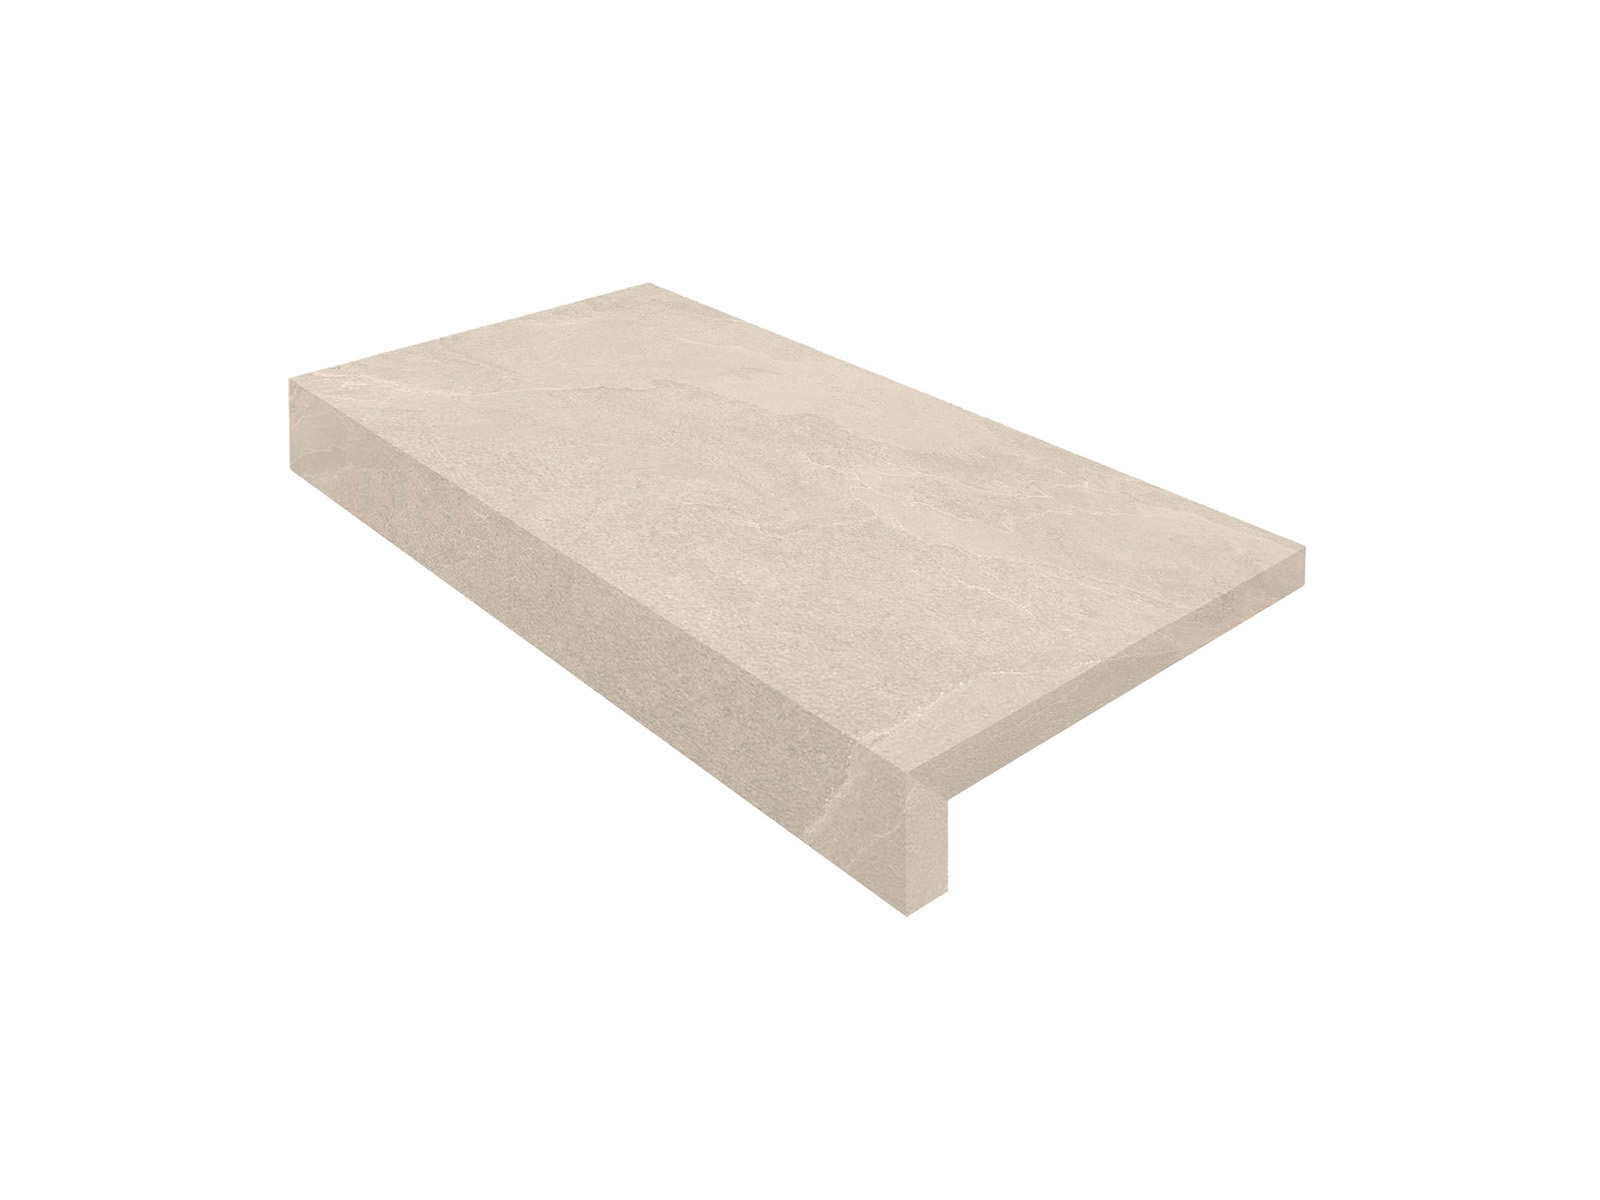
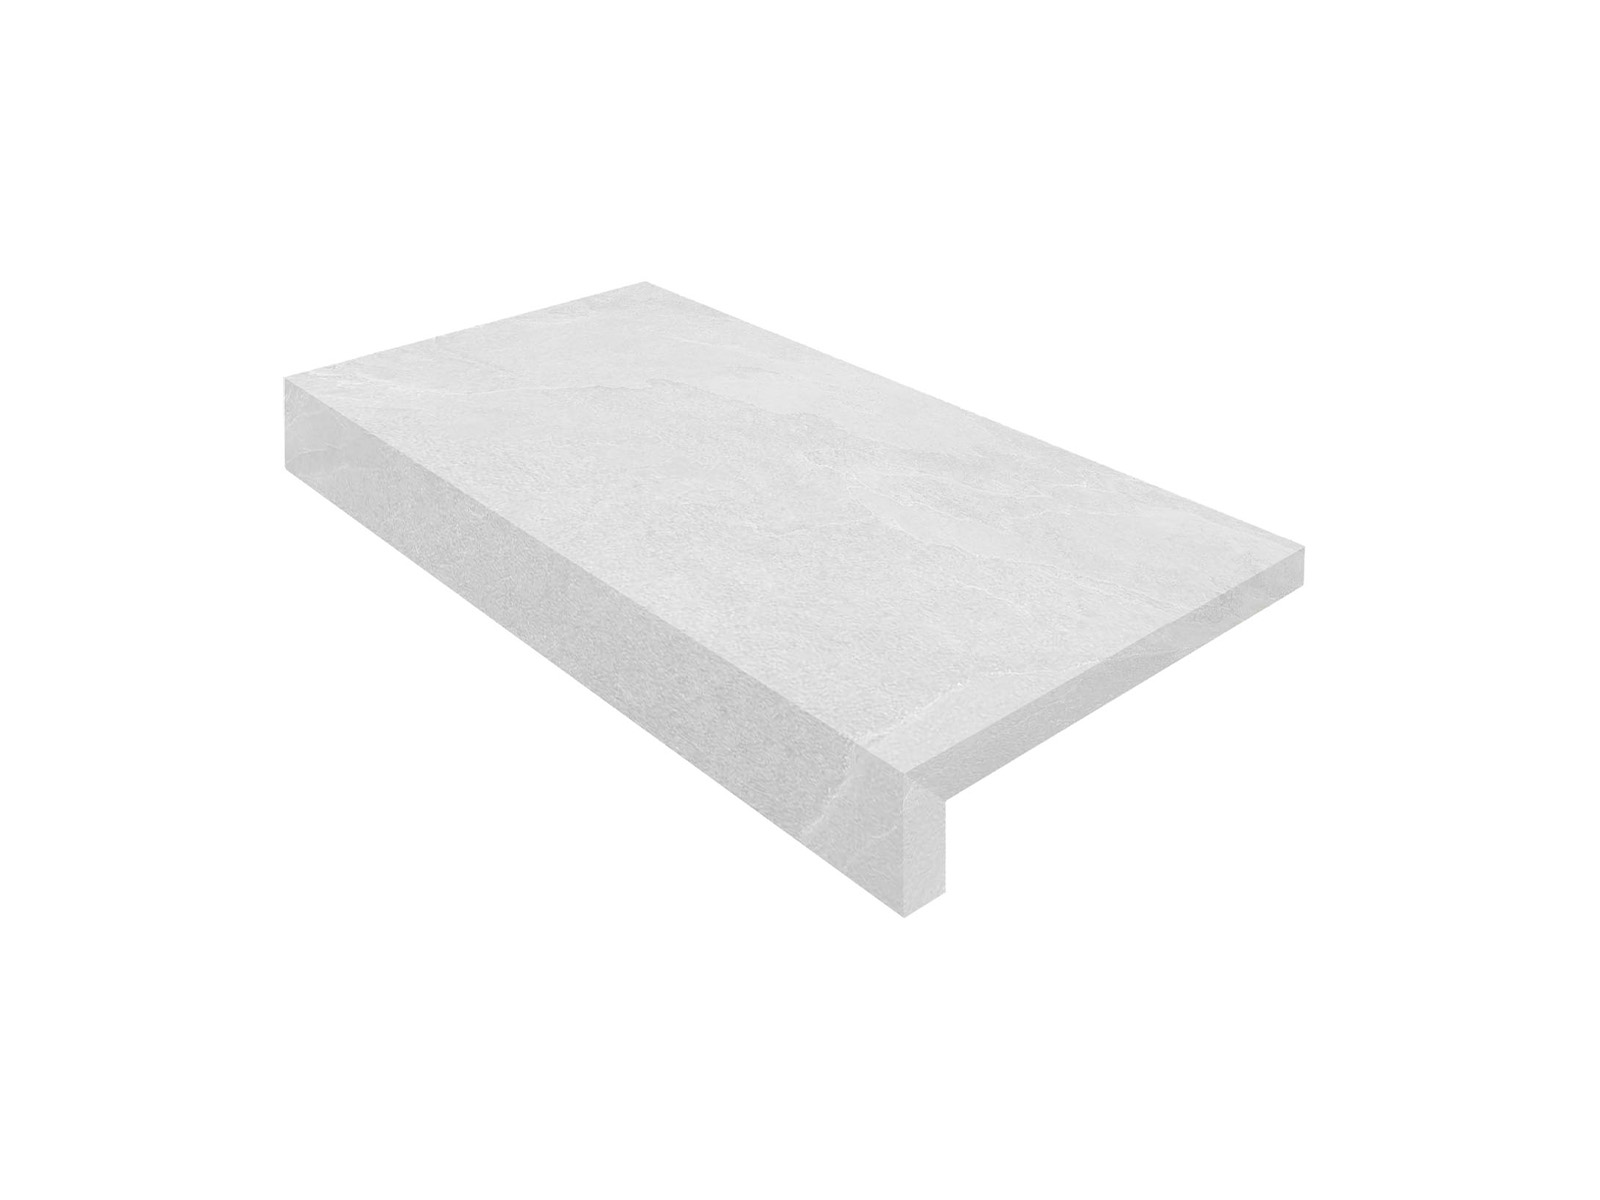
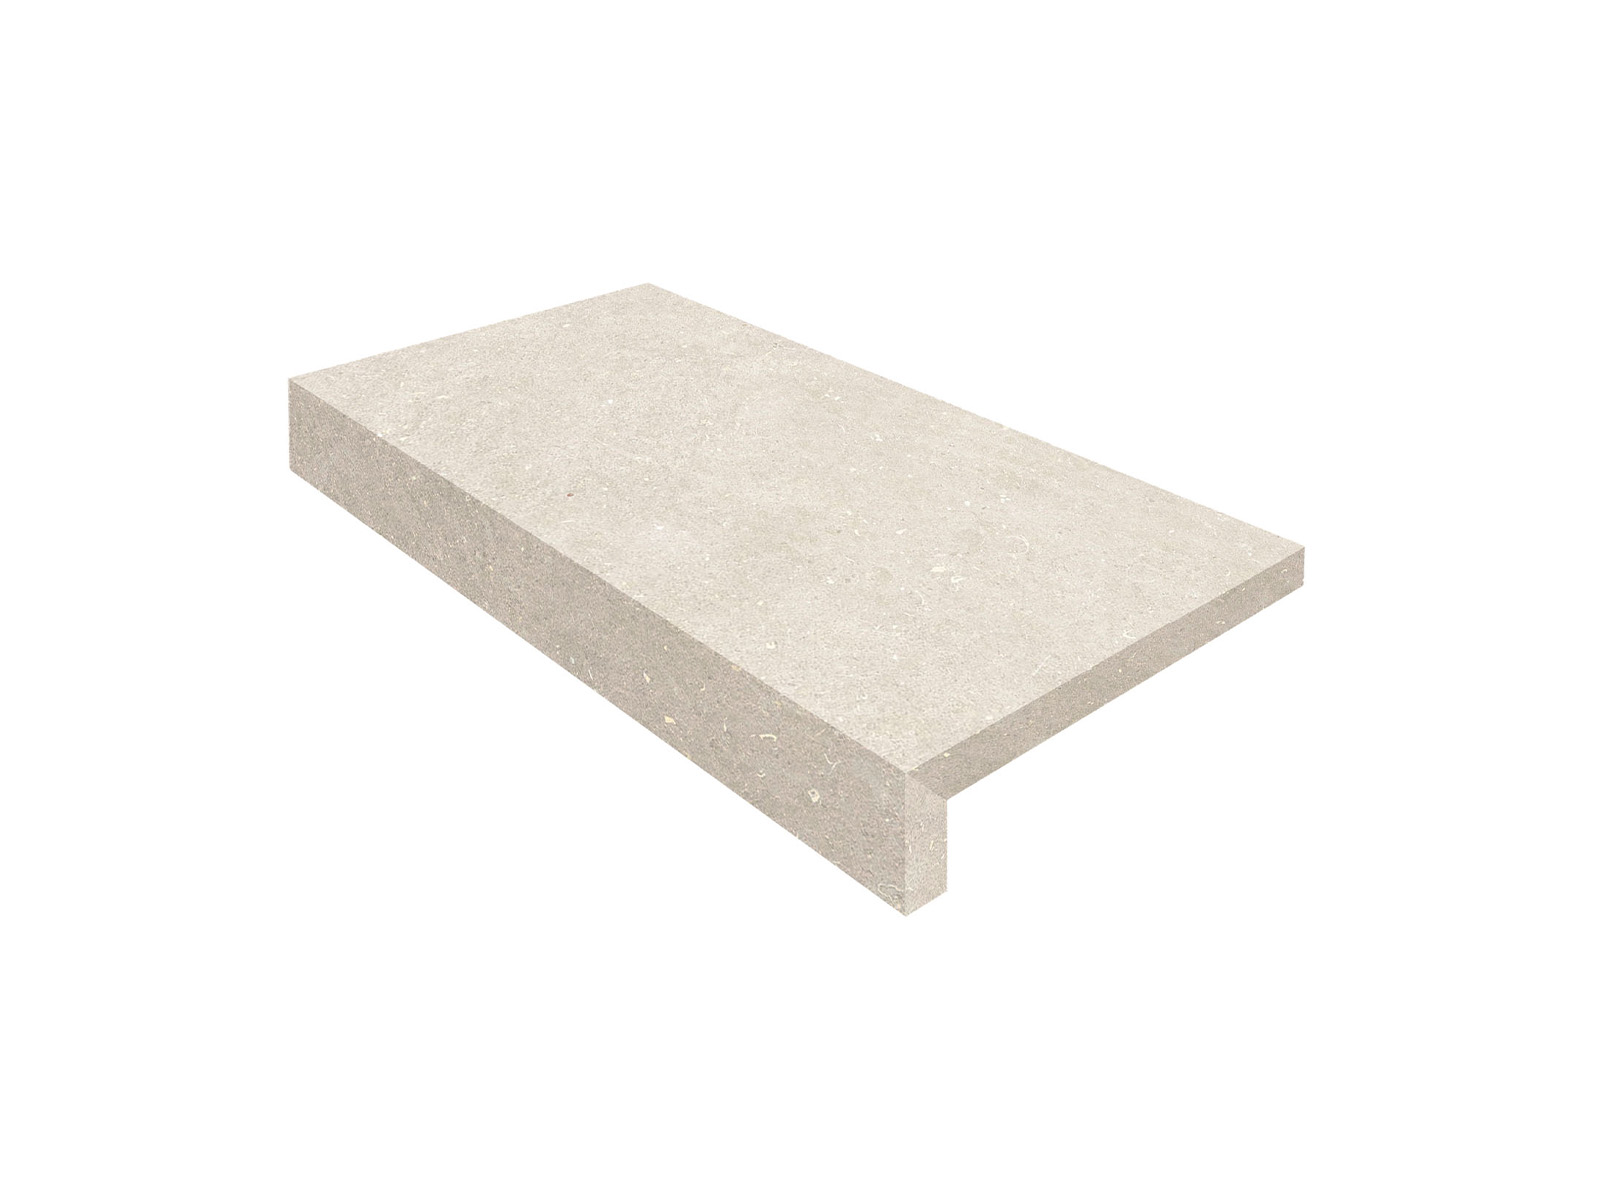
Steps and Transitions: Alignment Matters
Steps are among the most visually prominent areas of an outdoor paving project. Poorly aligned joints between treads, risers, and adjacent paving can interrupt the design and make the installation look unfinished.
Before cutting, installers should coordinate tread dimensions, riser heights, edge details, and joint locations. Where practical, joints should continue across adjacent surfaces or form a deliberate pattern. Consistent overhangs and clean transitions help give the steps a precise, architectural appearance.
Porcelain edges require particular attention at step fronts and exposed corners. Suitable edge profiles, compatible trim pieces, or properly detailed coping can protect vulnerable edges and provide a refined finish.
Slip resistance, drainage, and safe transitions must also be considered alongside appearance. The finished step detail should be compatible with the selected paving system and the project’s requirements.
Why Installer Experience Makes the Difference
These details may occupy only a small portion of the overall project, but they are often the first things homeowners notice. Accurate cutting, thoughtful layout adjustments, consistent joints, and properly finished edges distinguish a carefully executed installation.
Experienced installers understand how to work with porcelain’s hardness and brittleness, select suitable cutting equipment, and manage delicate pieces around openings and corners. They also recognize when a layout needs to change before cutting begins.
For homeowners, reviewing these details during planning makes the discussion with an installer more productive. Ask to see examples of similar work, particularly close views of drains, skimmer covers, curves, and step edges.
For design inspiration, explore how porcelain paving and an inlay cover come together in our Sleek Sophistication moodboard.
Questions to Ask Before Installation
Before approving the layout, ask your installer:
- How will the paver pattern meet the drains and skimmer openings?
- Where will smaller cut pieces be needed, and how will they be supported?
- How will curved edges and step fronts be finished?
- How will the layout preserve drainage and maintenance access?
The finished appearance of porcelain pavers is shaped by the details. When planning, alignment, cut size, edge treatment, and installation expertise work together, the result is a cohesive outdoor space that looks intentional and functions properly.